
A Complete Guide to Caulking: Everything You Need to Know
Caulking is a process that is essential in home maintenance and renovation. It is the application of a sealant to joints and gaps between the surfaces to provide insulation, prevent moisture from getting in, and this can help keep pests out. If you are a homeowner or DIY enthusiast, who is looking to learn everything there is to know about caulking, then you’ve come to the right place. Read on to learn more.
What is caulking?
Caulking is the application of a sealant to joints and gaps between surfaces. Caulk is usually a flexible material that can seal gaps so that moisture and air cannot penetrate. It is made from either latex, silicone, or polyurethane and is applied using a caulking gun.
Types of caulk
There are different types of caulks suitable for different purposes. Some include acrylic latex caulk, silicone caulk, polyurethane caulk, and elastomeric caulk. Each type of caulk has its advantages and limitations. Acrylic latex caulk is perfect for interior use, while silicone caulk is known for its water resistance and durability, making it suitable for the bathroom and kitchen. Polyurethane caulk is ideal for exterior use and can withstand harsh weather conditions.
Preparation before caulking
Before starting to caulk, you need to ensure that the area is clean, dry, and free from dust, grease, and debris. Use a scraper or putty knife to remove any old caulk present. Use a brush to clean up the area, and wipe it dry with a clean cloth. If the surface is too dirty or damaged, use sandpaper to smoothen it before caulking.
How to caulk
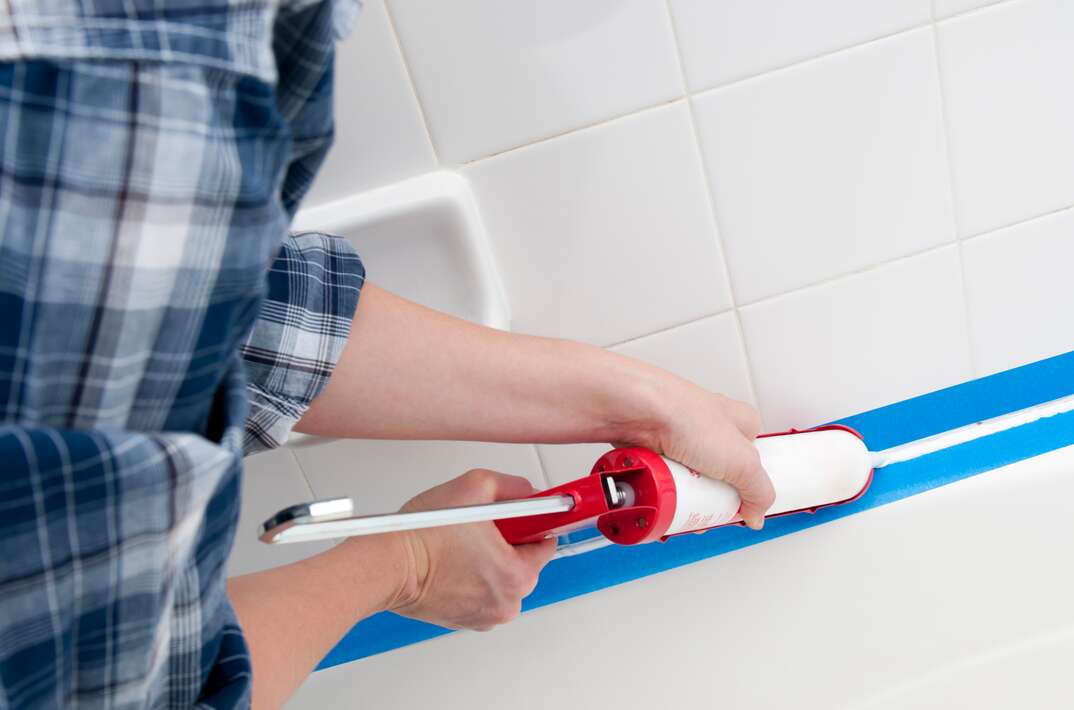
Using a caulking gun, apply a continuous and even bead of caulk to the gap or joint, ensuring that you don’t leave any gaps. Carefully guide the nozzle along the crack, and keep a steady pressure on the trigger of the caulking gun. You can use a wet finger, a caulk smoothing tool, or a putty knife to smooth the caulk and remove any excess material. If you notice any gaps after caulking, add more caulk to fill the gap.
After-caulking tips
After IB caulking, you should allow the caulk to dry for at least 24 hours. Once it is dry, you can paint over it to match the color of the surrounding surfaces. If you notice problems with the caulking, such as mold growth, cracks or splits, re-caulk the area.
Conclusion
Caulking is a simple process that can make a big difference in your home’s appearance and energy efficiency. Properly performing a caulking job requires a few basic tools and knowledge of how to apply caulk correctly. By following the steps mentioned above, homeowners can achieve professional-looking results. Don’t forget to check the caulk’s expiration date before starting your job and keep in mind that maintenance is key to any home improvement job, so it’s essential to keep your home’s caulking in good condition. Happy caulking!